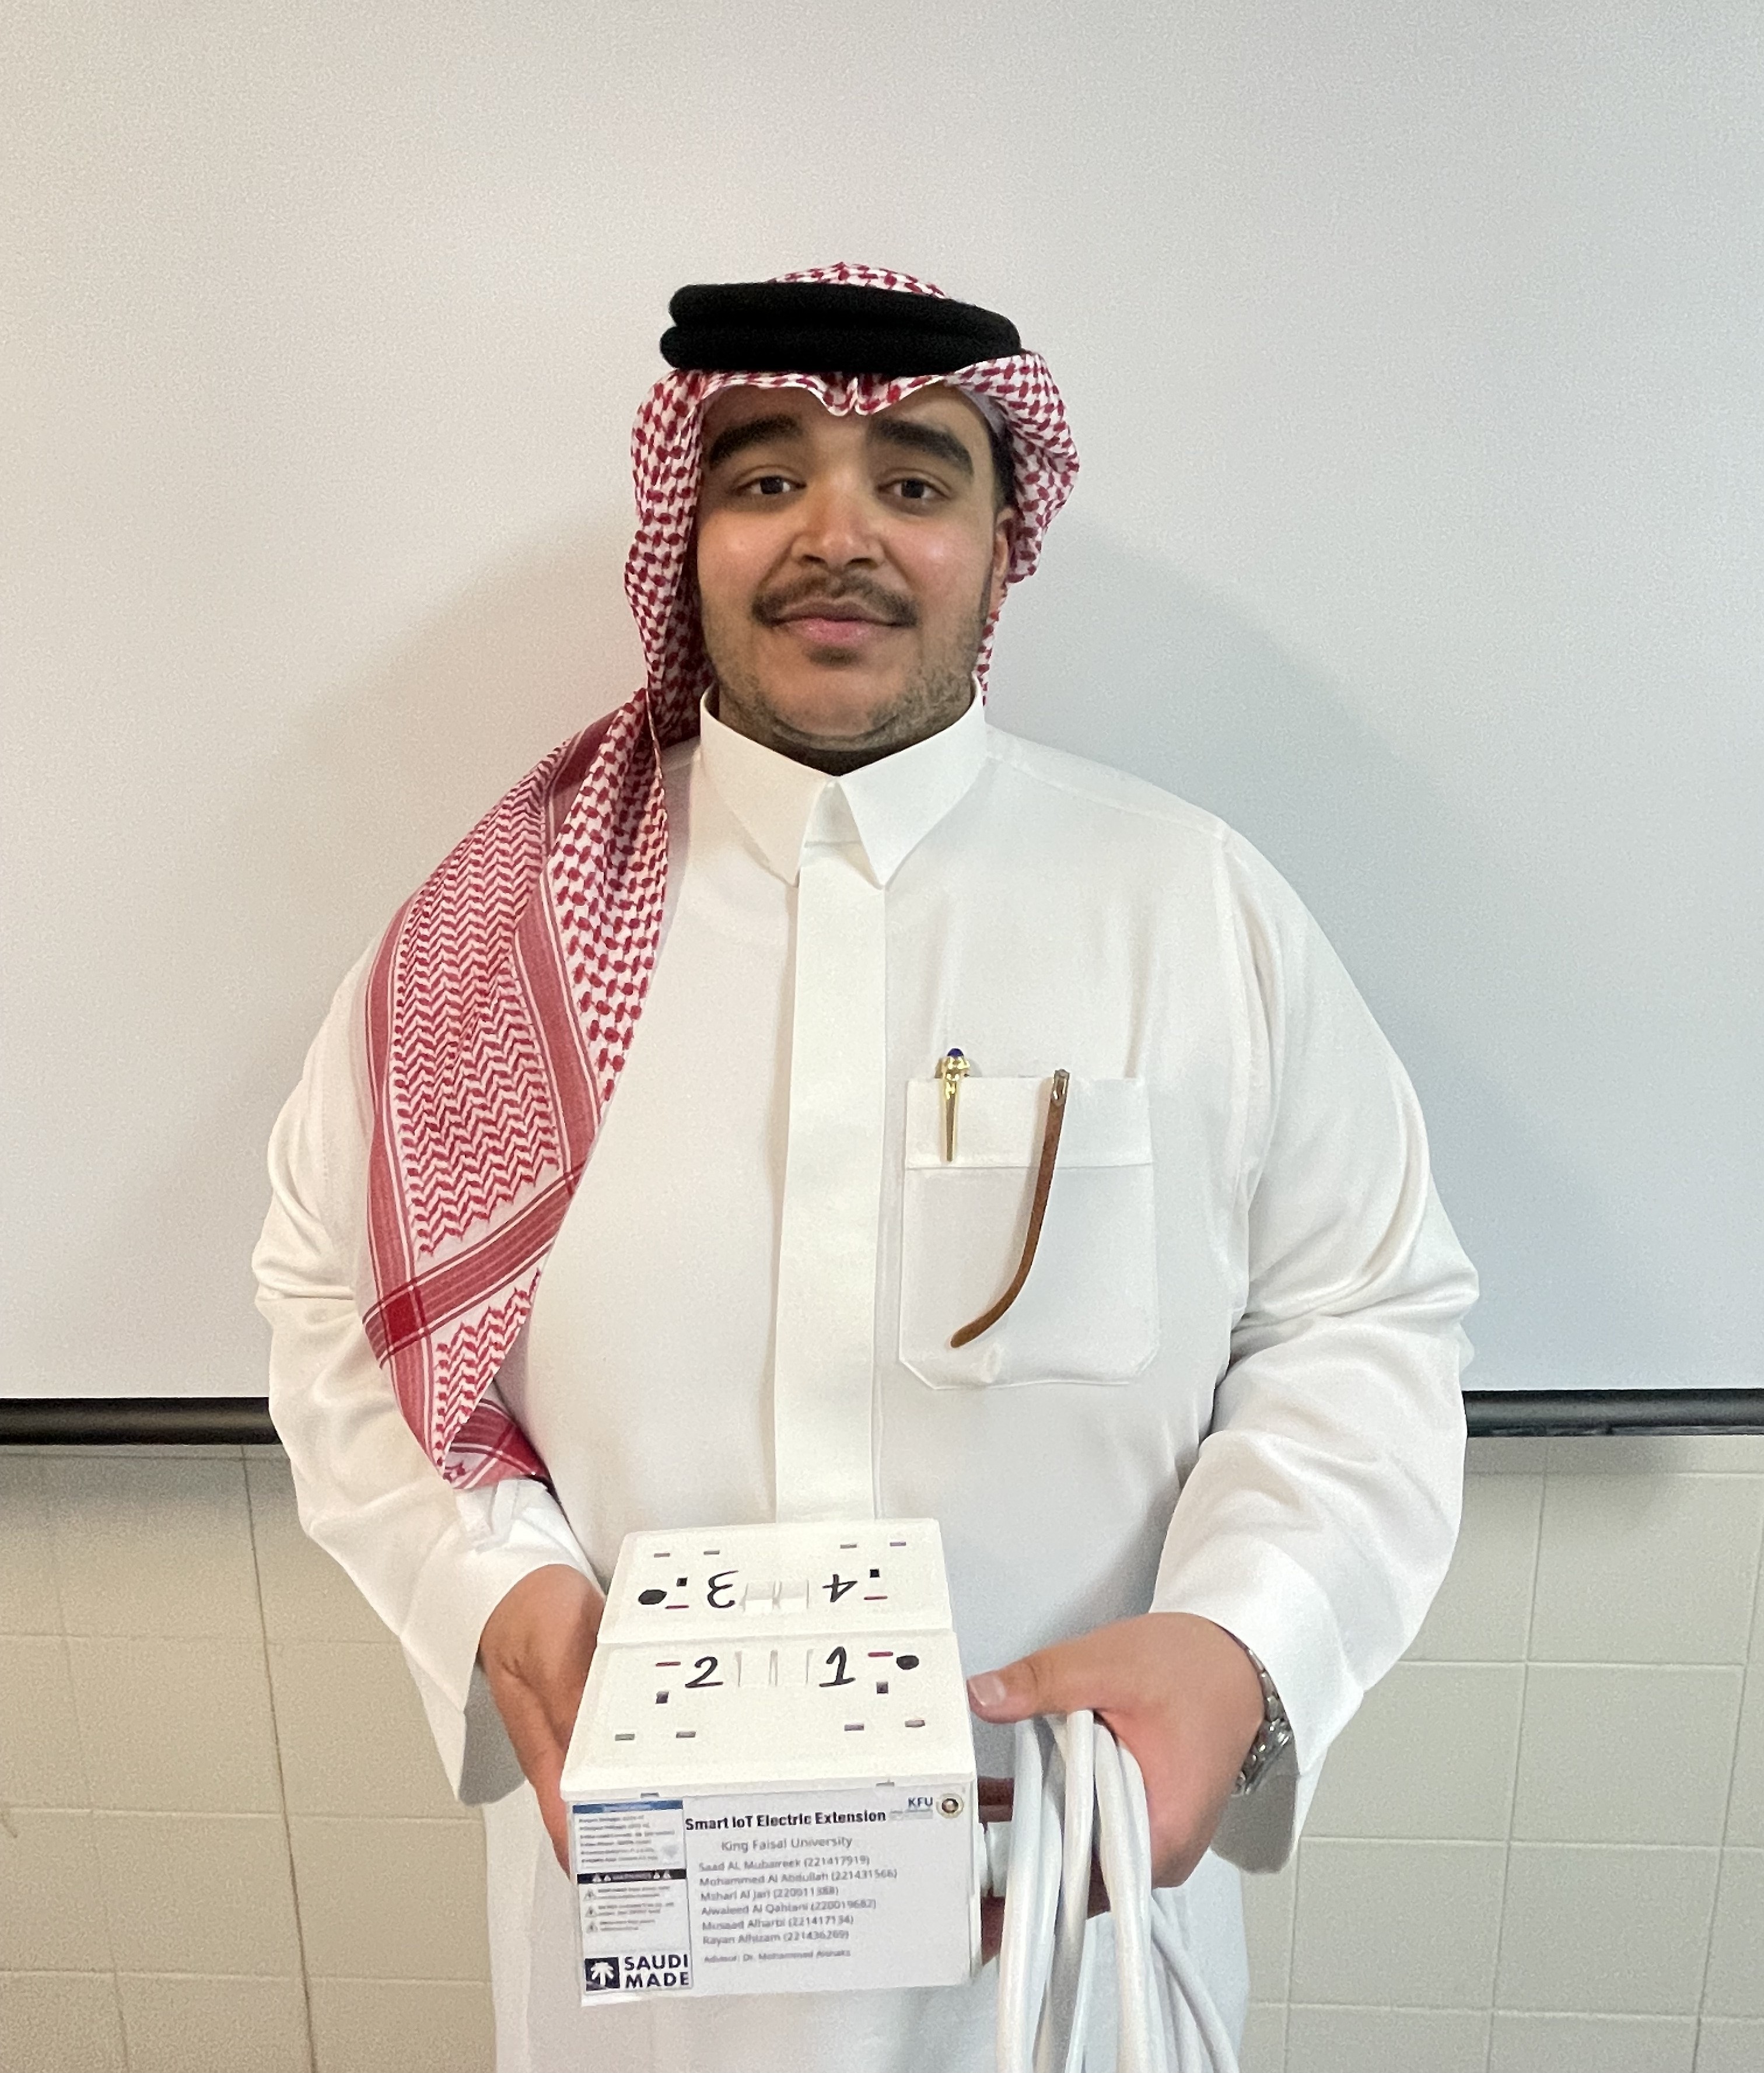
Project Team
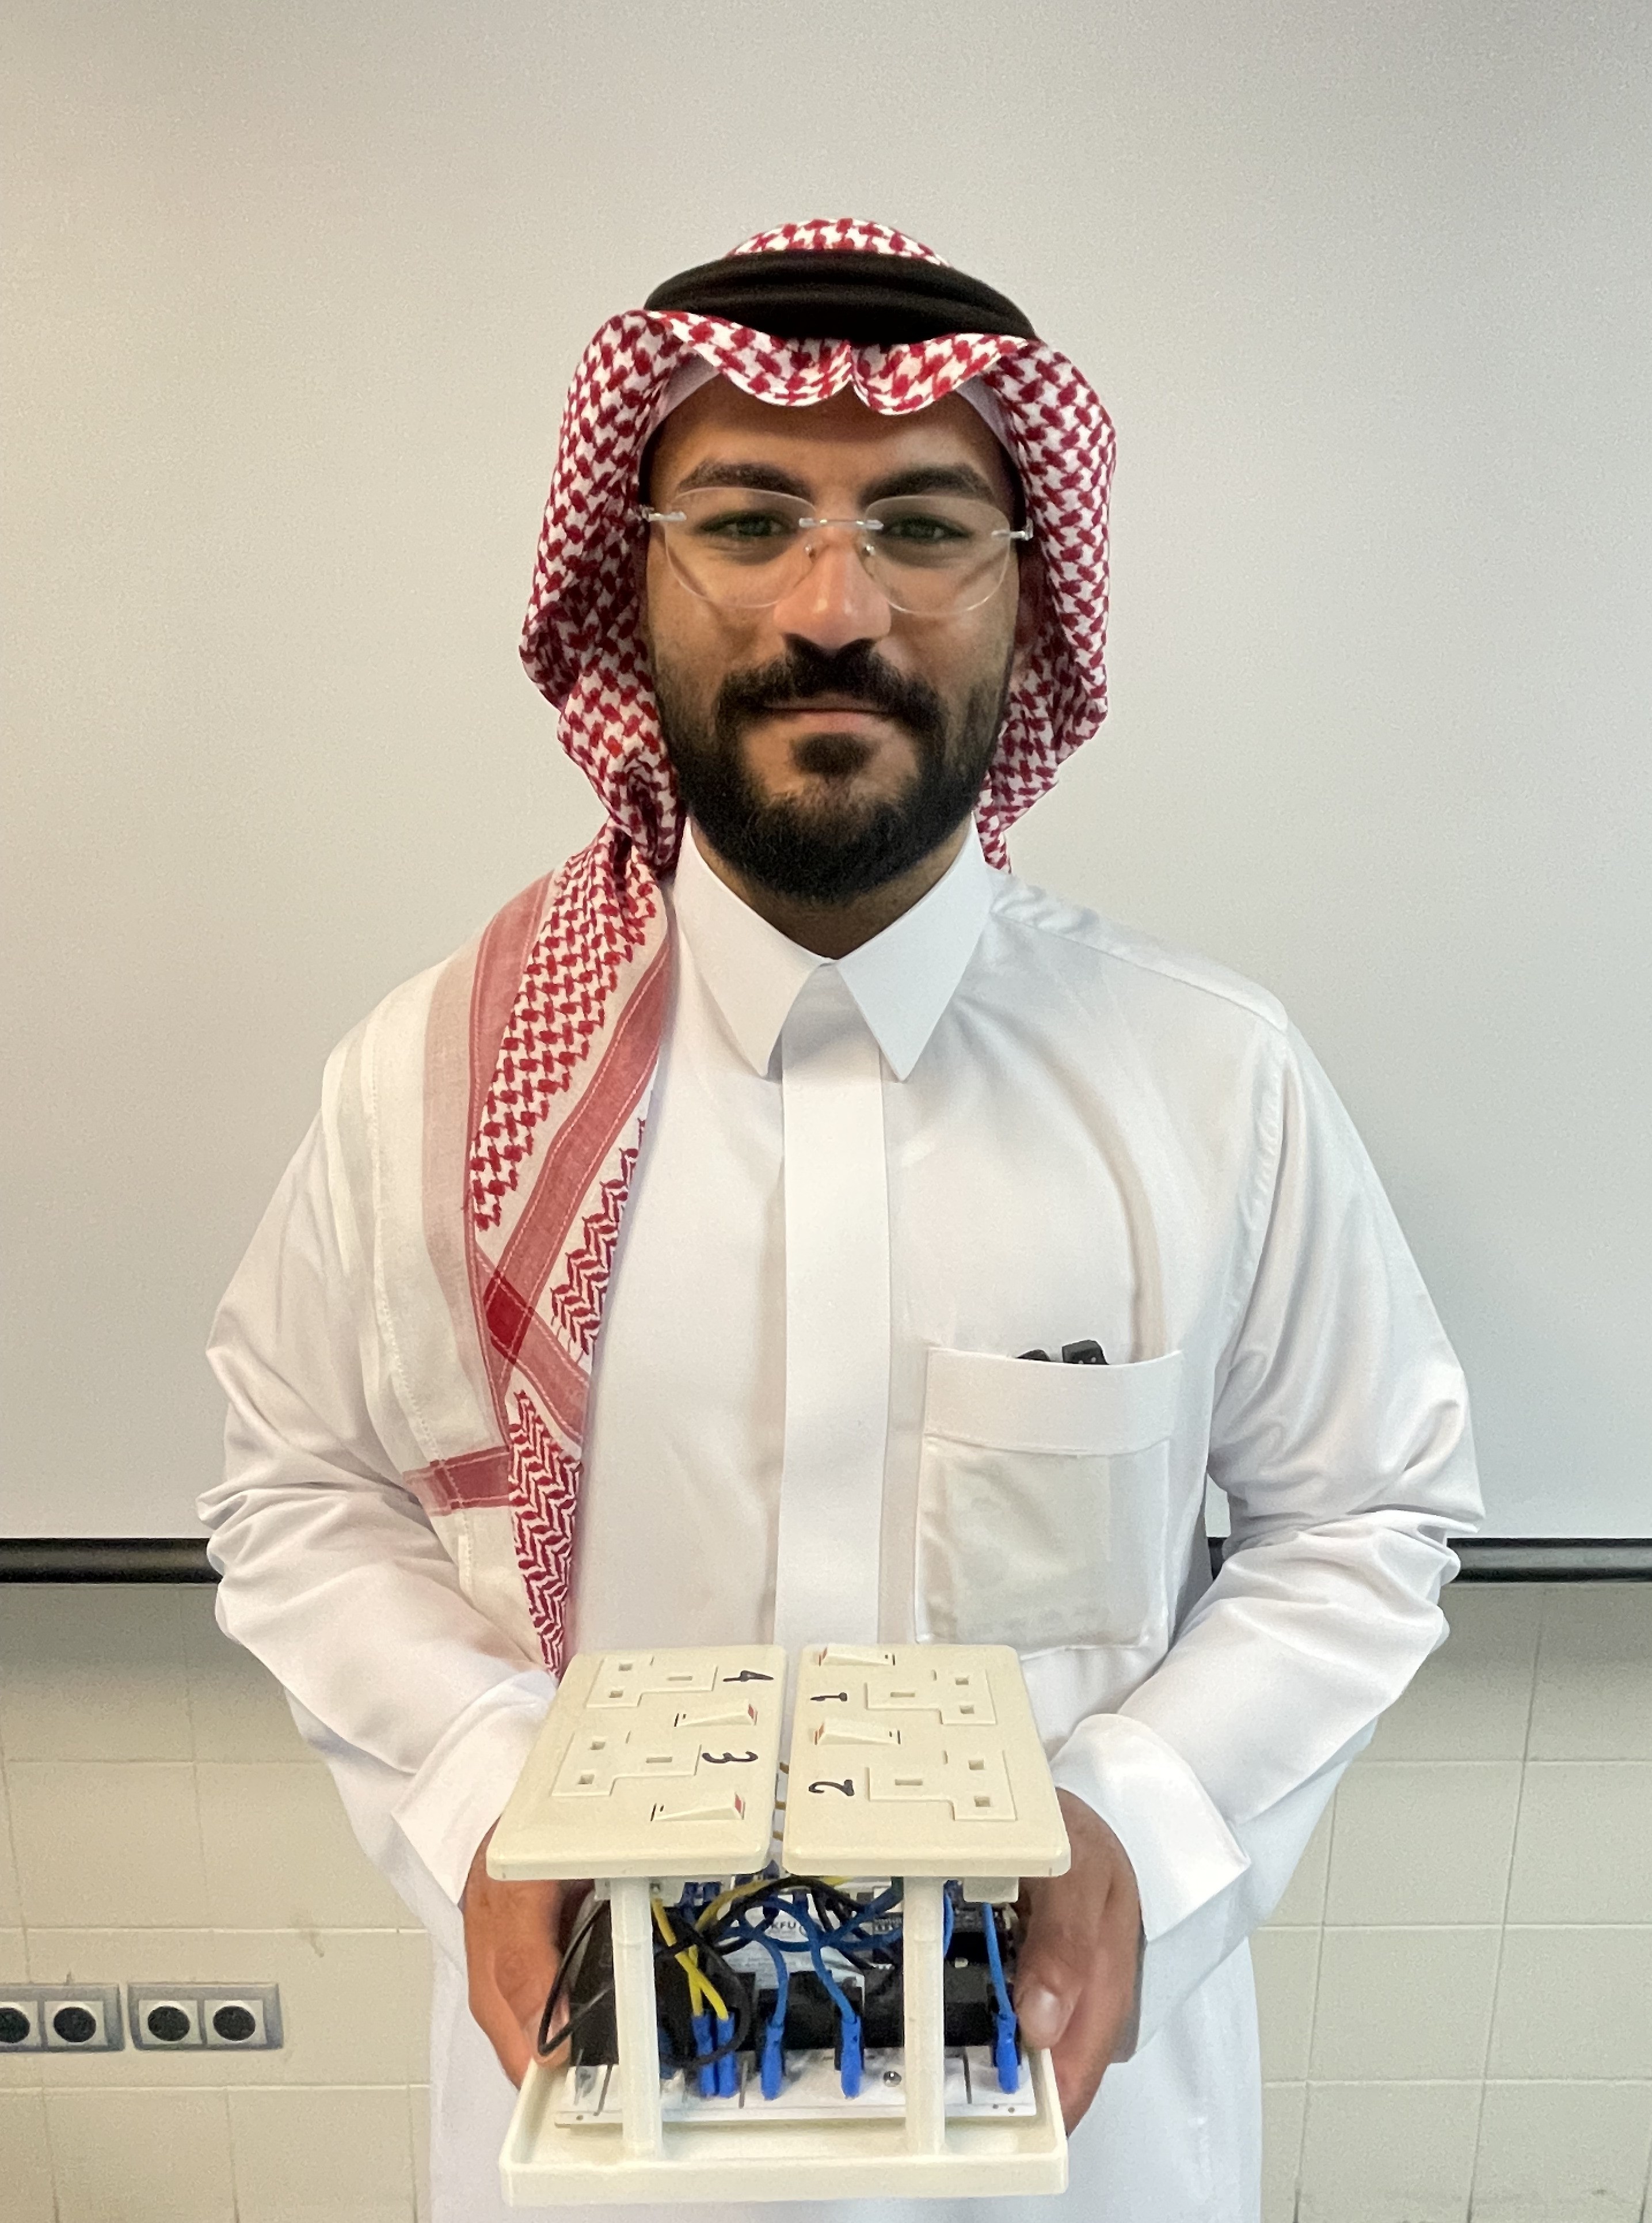
Mshari
Al Jari
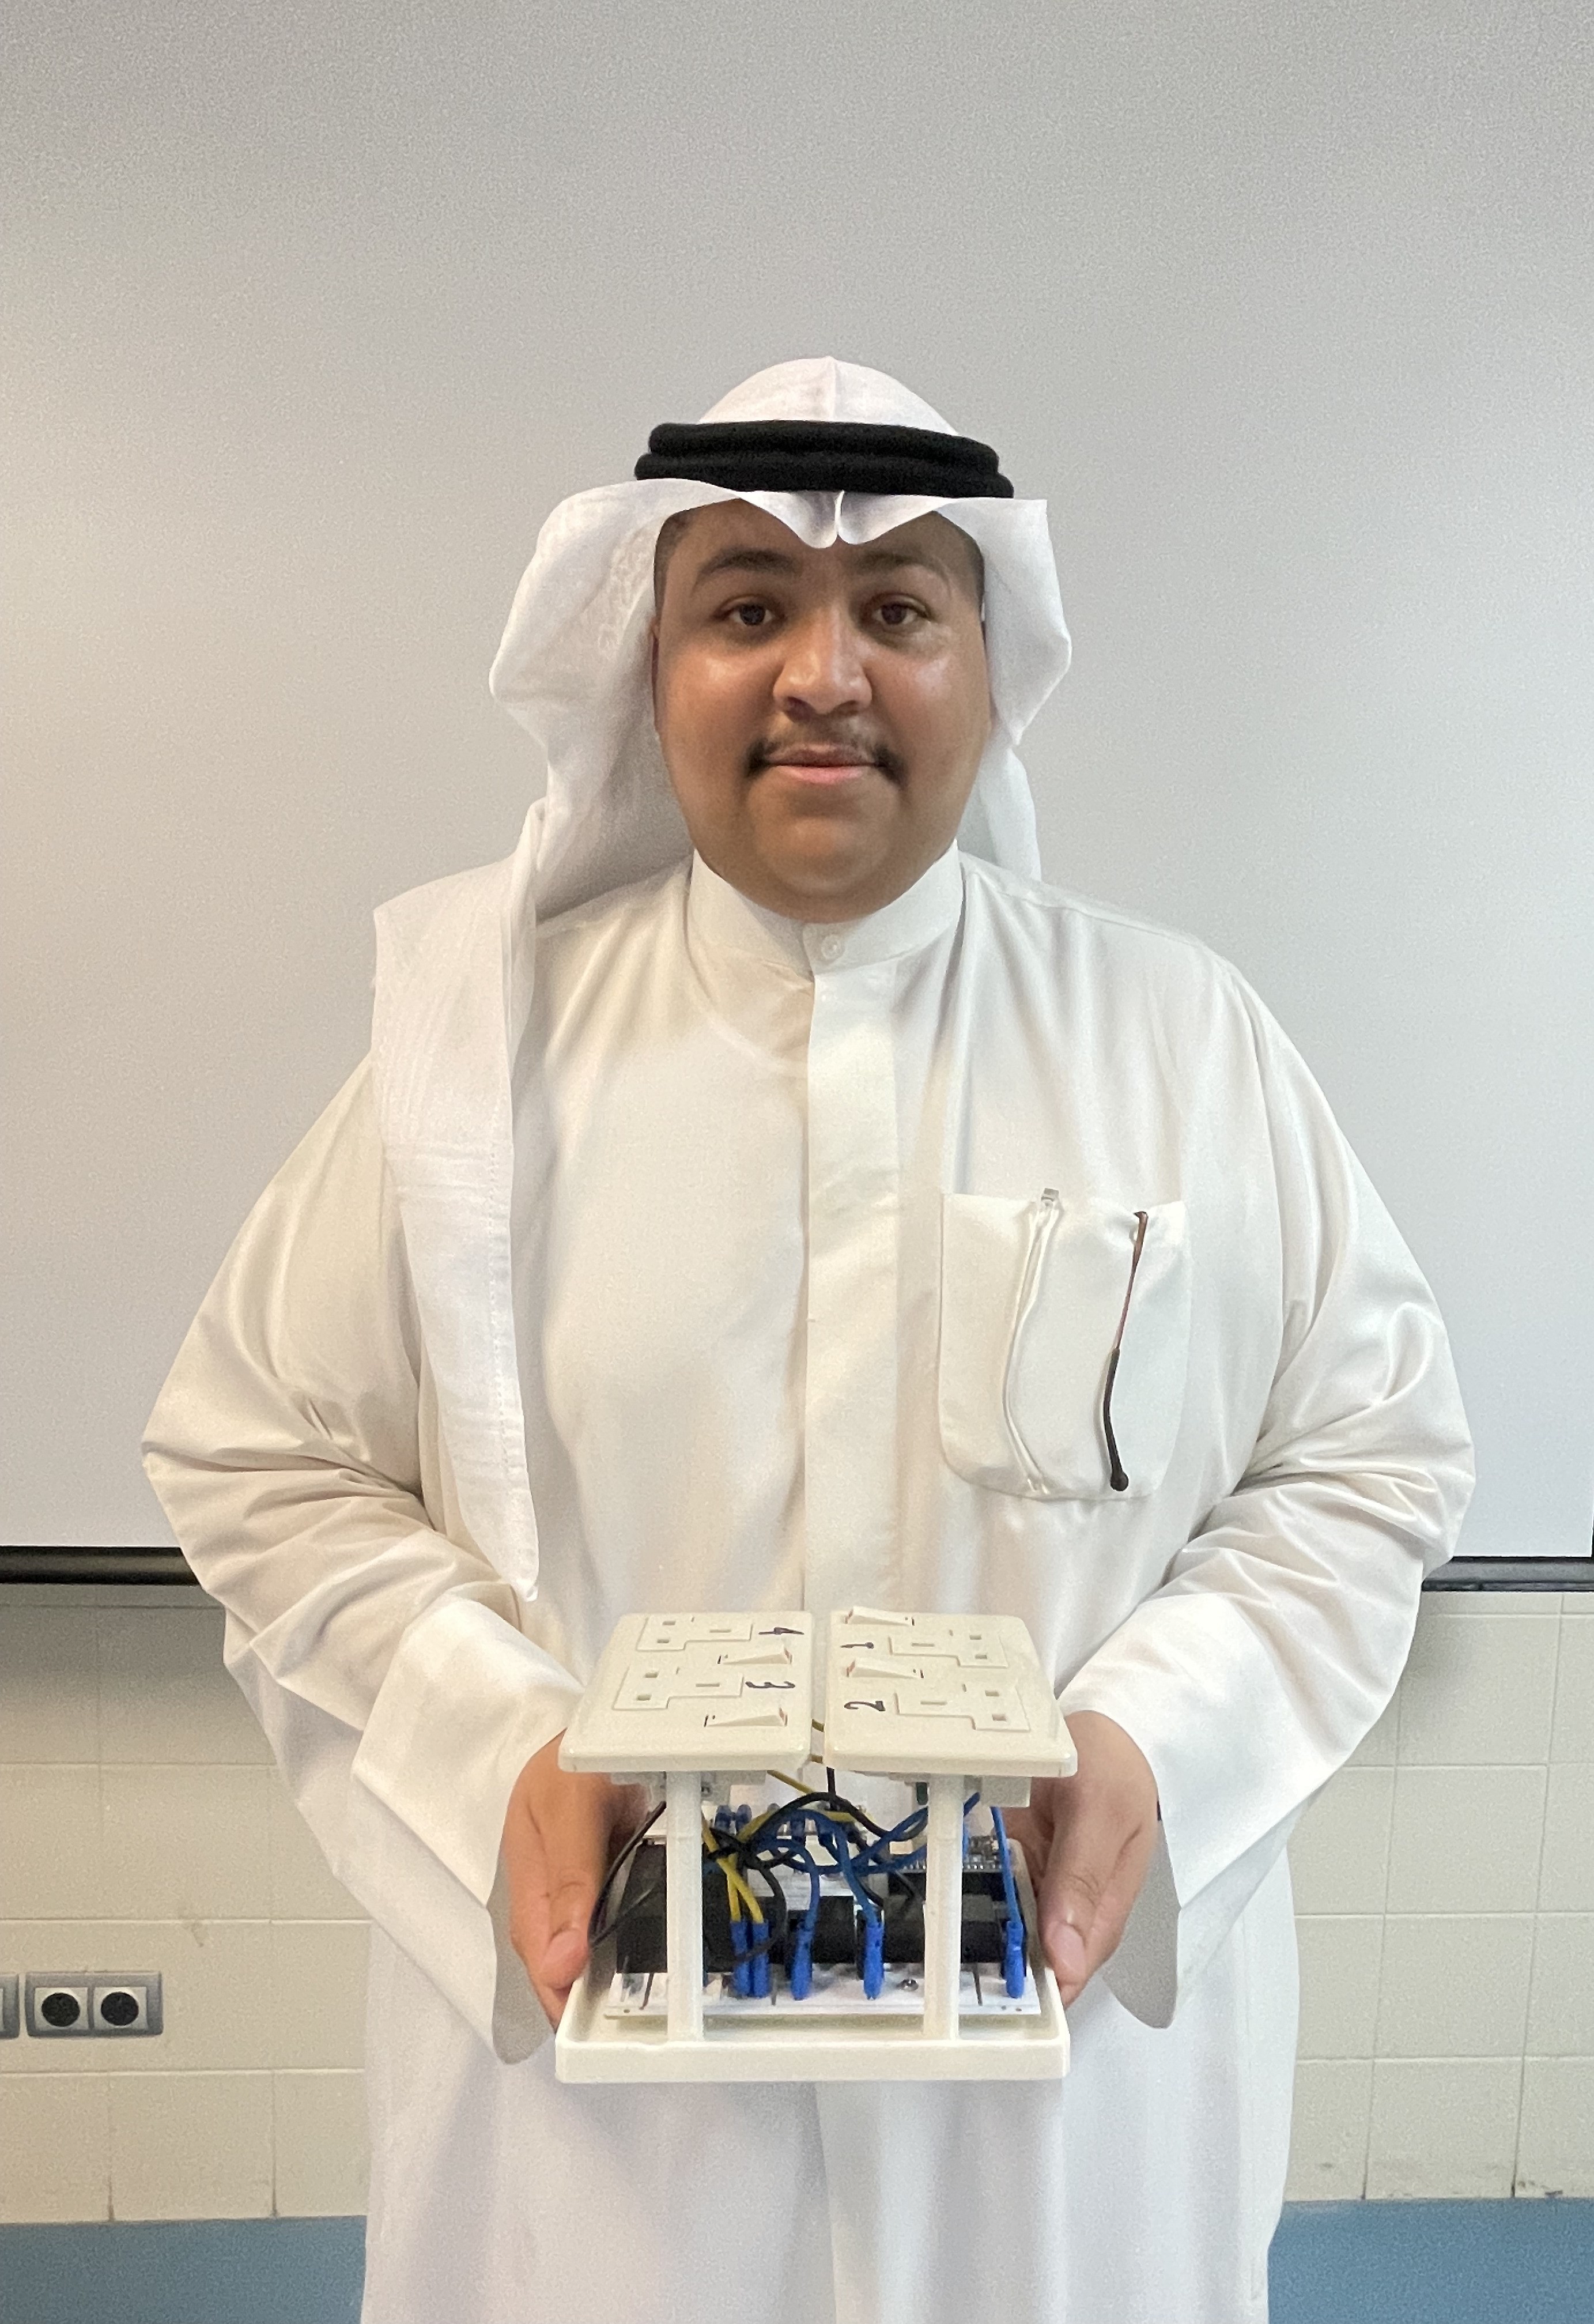
Saad
AL Mubaireek
Musaad
Alharbi
Alwaleed
Al Qahtani
Rayan
Alhizam

Mohammed
Al Abdullah
Advisor: Dr. Mohammed Alshakhs
Acknowledgment
I would like to express my sincere thanks to Dr. Mohammed Alshakhs for his guidance and continuous support throughout the project.
I also appreciate my teammates Mohammed Al Abdullah, Mshari Al Jari, Alwaleed Al Qahtani, Musaad Alharbi, and Rayan Alhizam who worked with me on this project.
Finally, I would like to thank King Faisal University and the Electrical Engineering Department for providing the environment and resources that made this work possible.
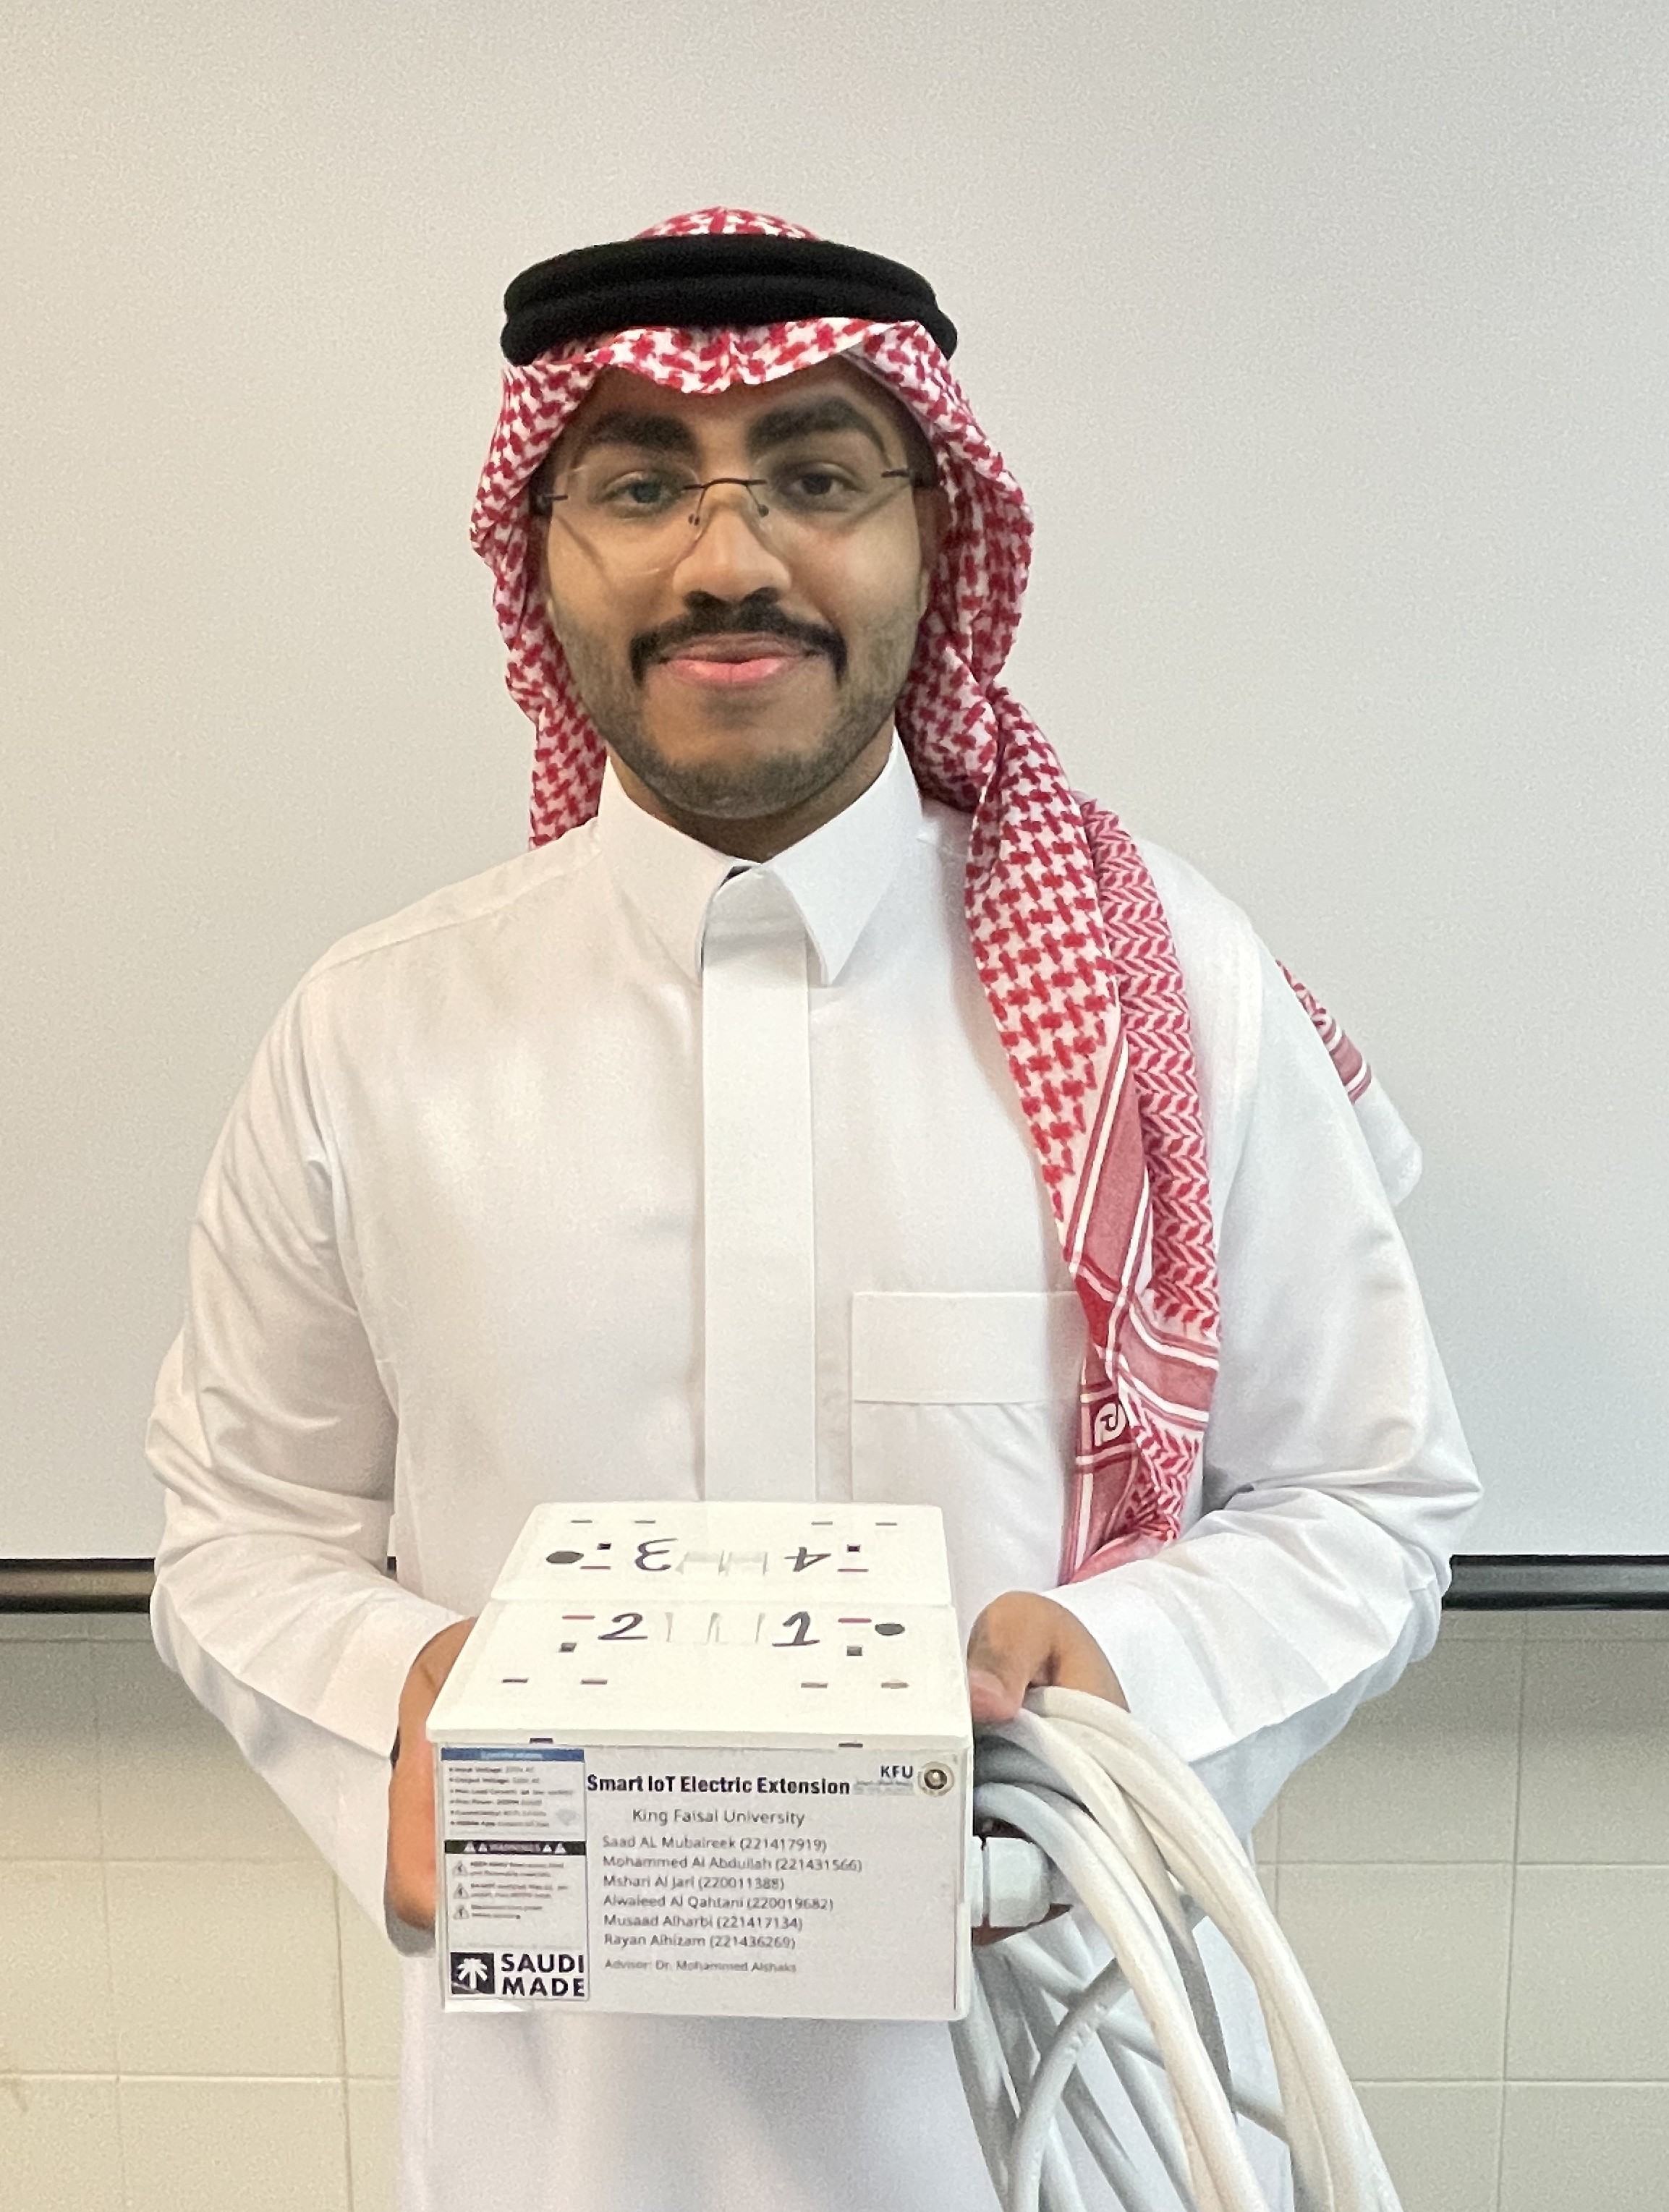
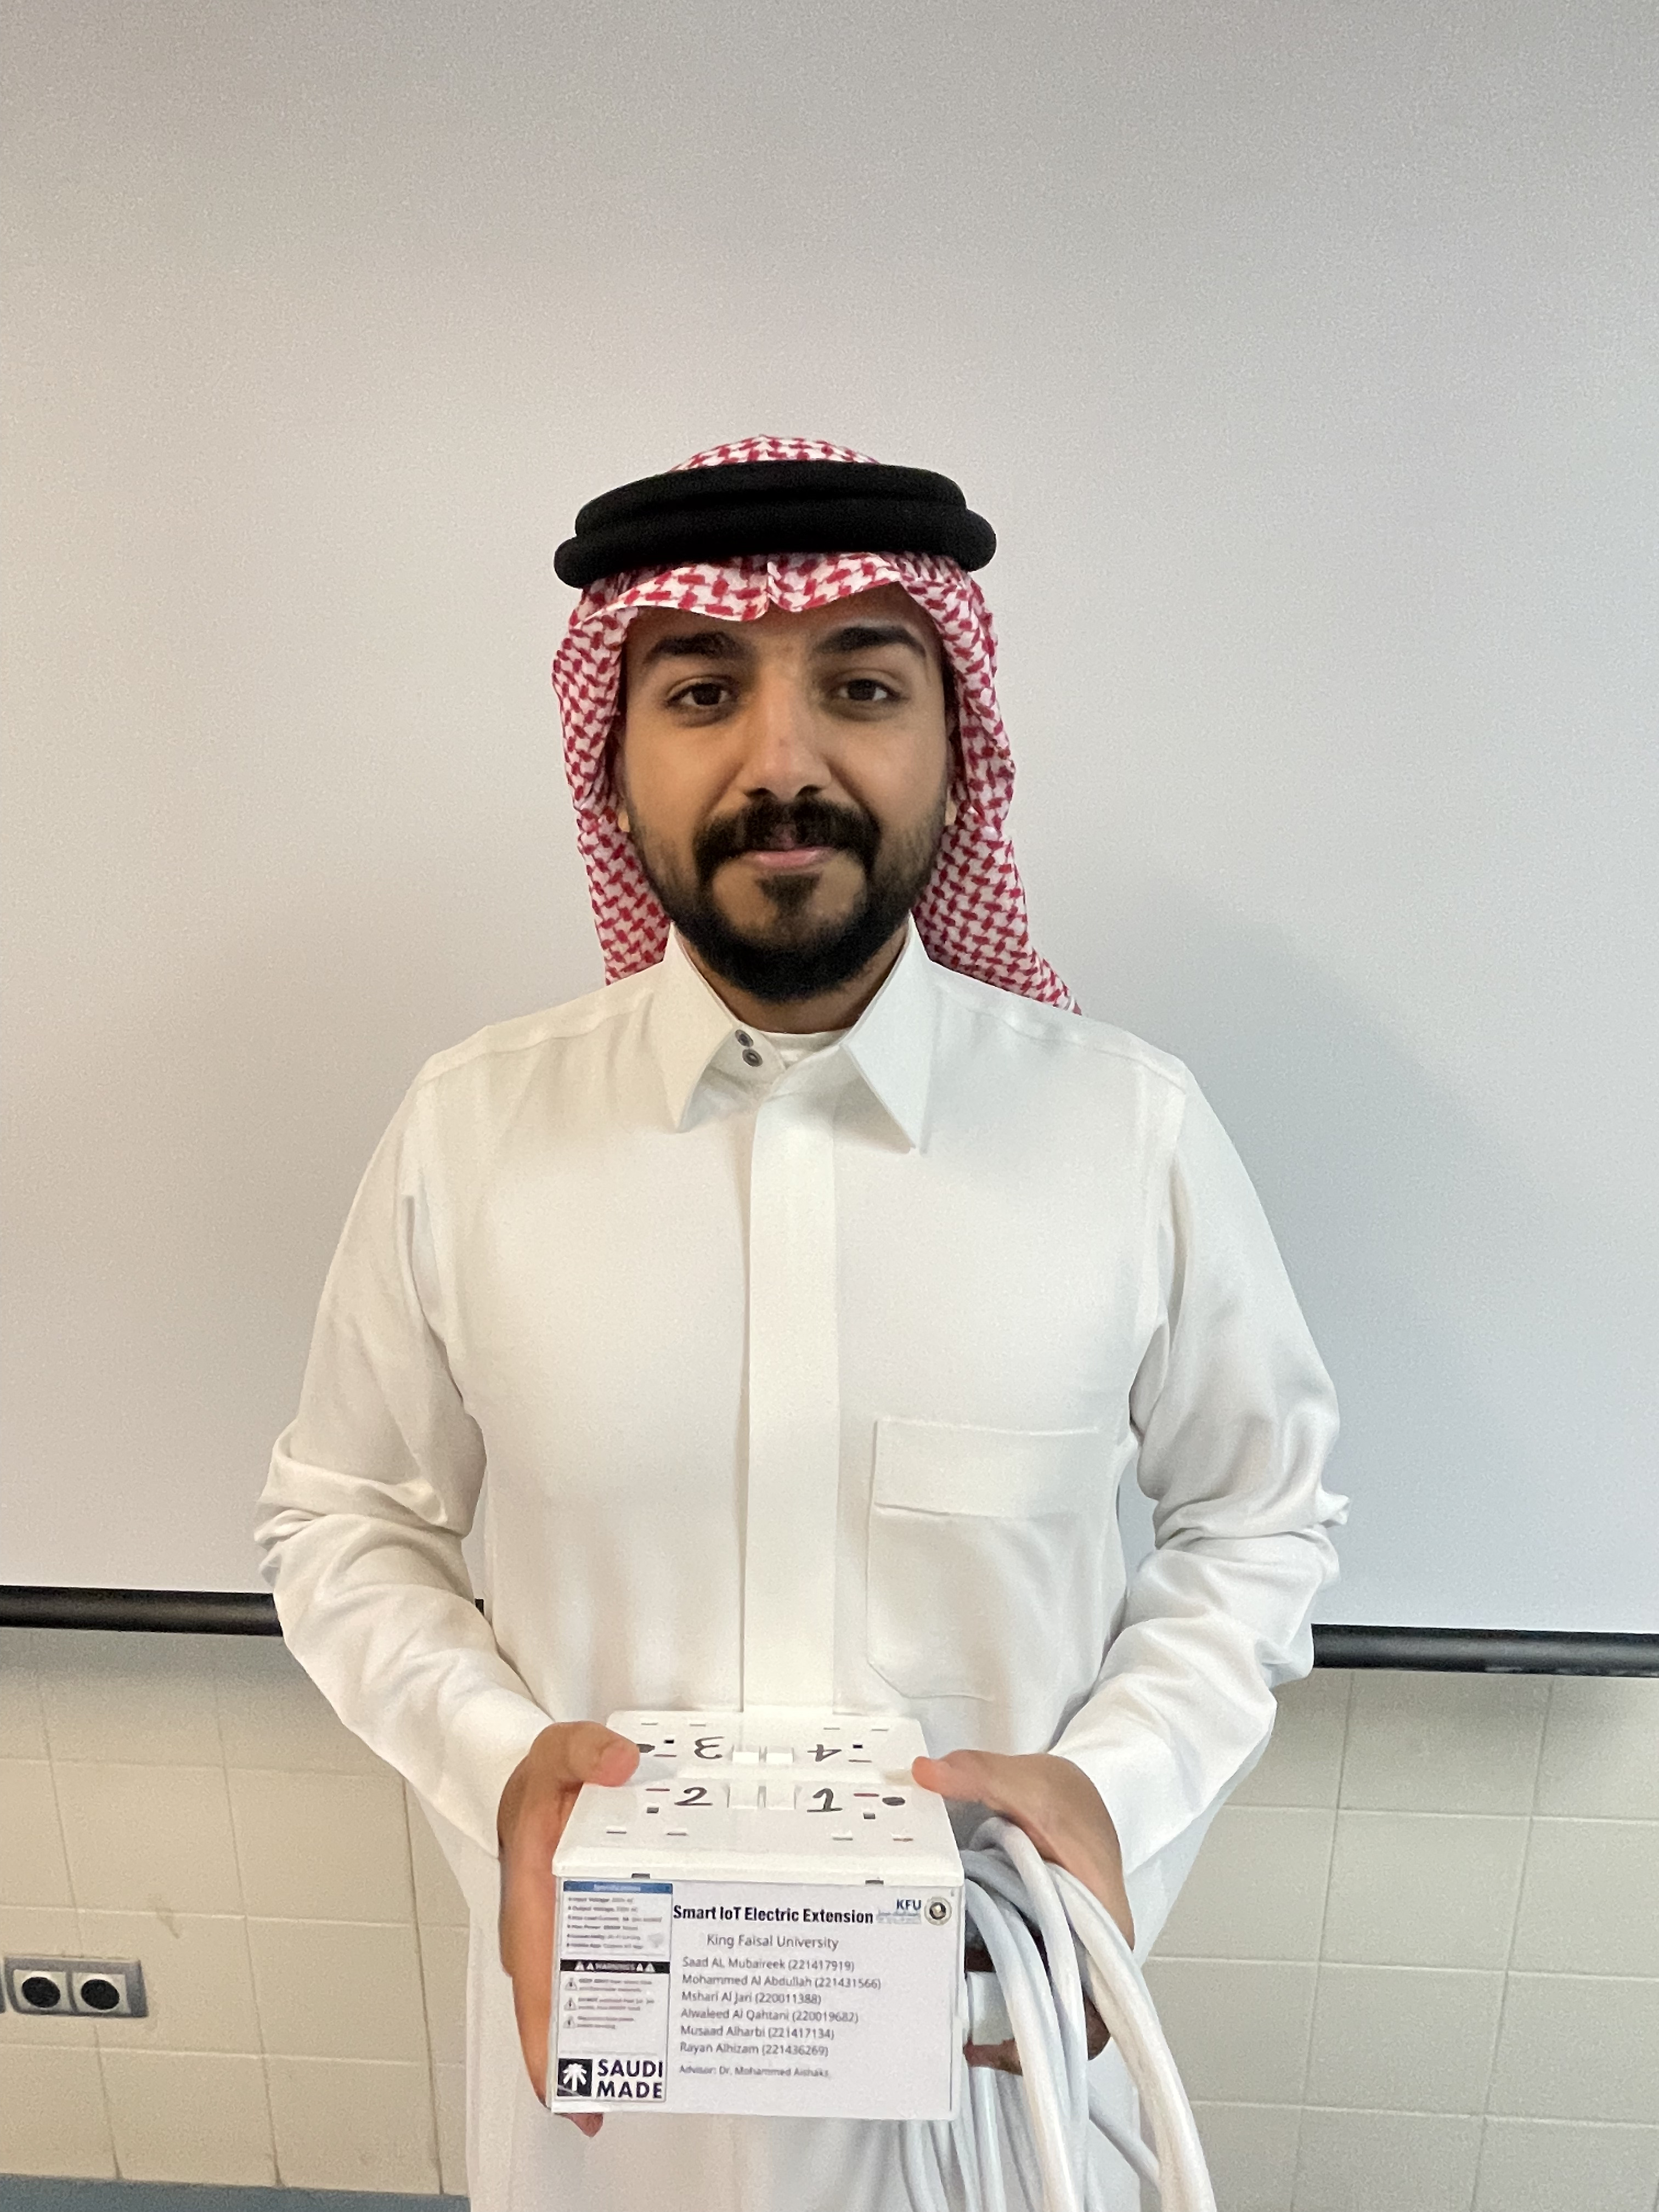
Smart IoT Electric Extension
This system is designed to provide a smart, safe, and remotely controlled power extension with features such as:
- Remote control via mobile app (RemoteXY)
- Voice control using Amazon Alexa
- Real-time current and energy monitoring
- Over-current protection with Telegram alerts
- Over-temperature safety shutdown
📄 Project Resources
- 📘 Download Full Report
- 🎥 Watch Setup Guide Video :
- 🎥 Watch assembly Video :
📊 System Overview
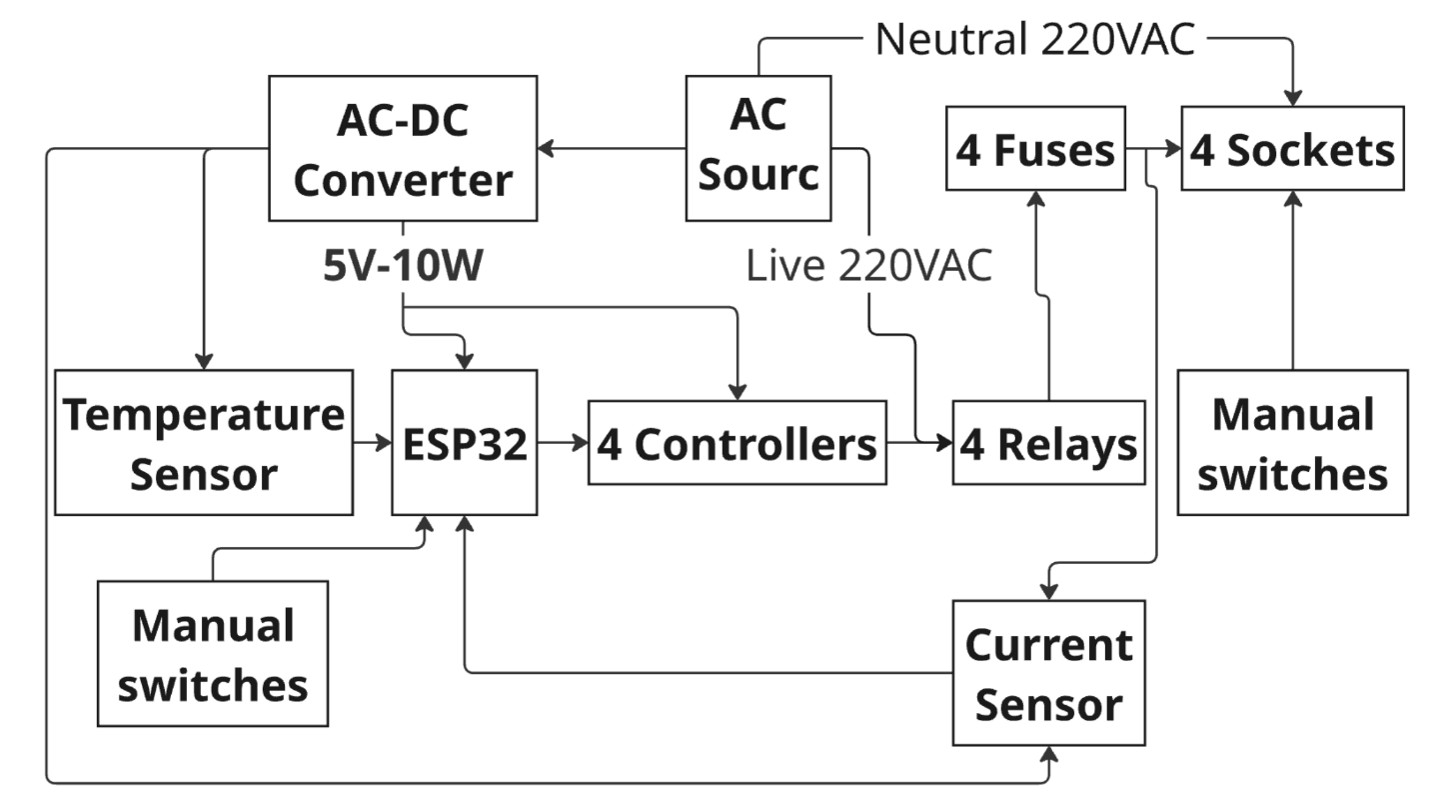
Overall workflow of the system from power input to monitoring and control.
System Overview and Design
🧠 System Architecture
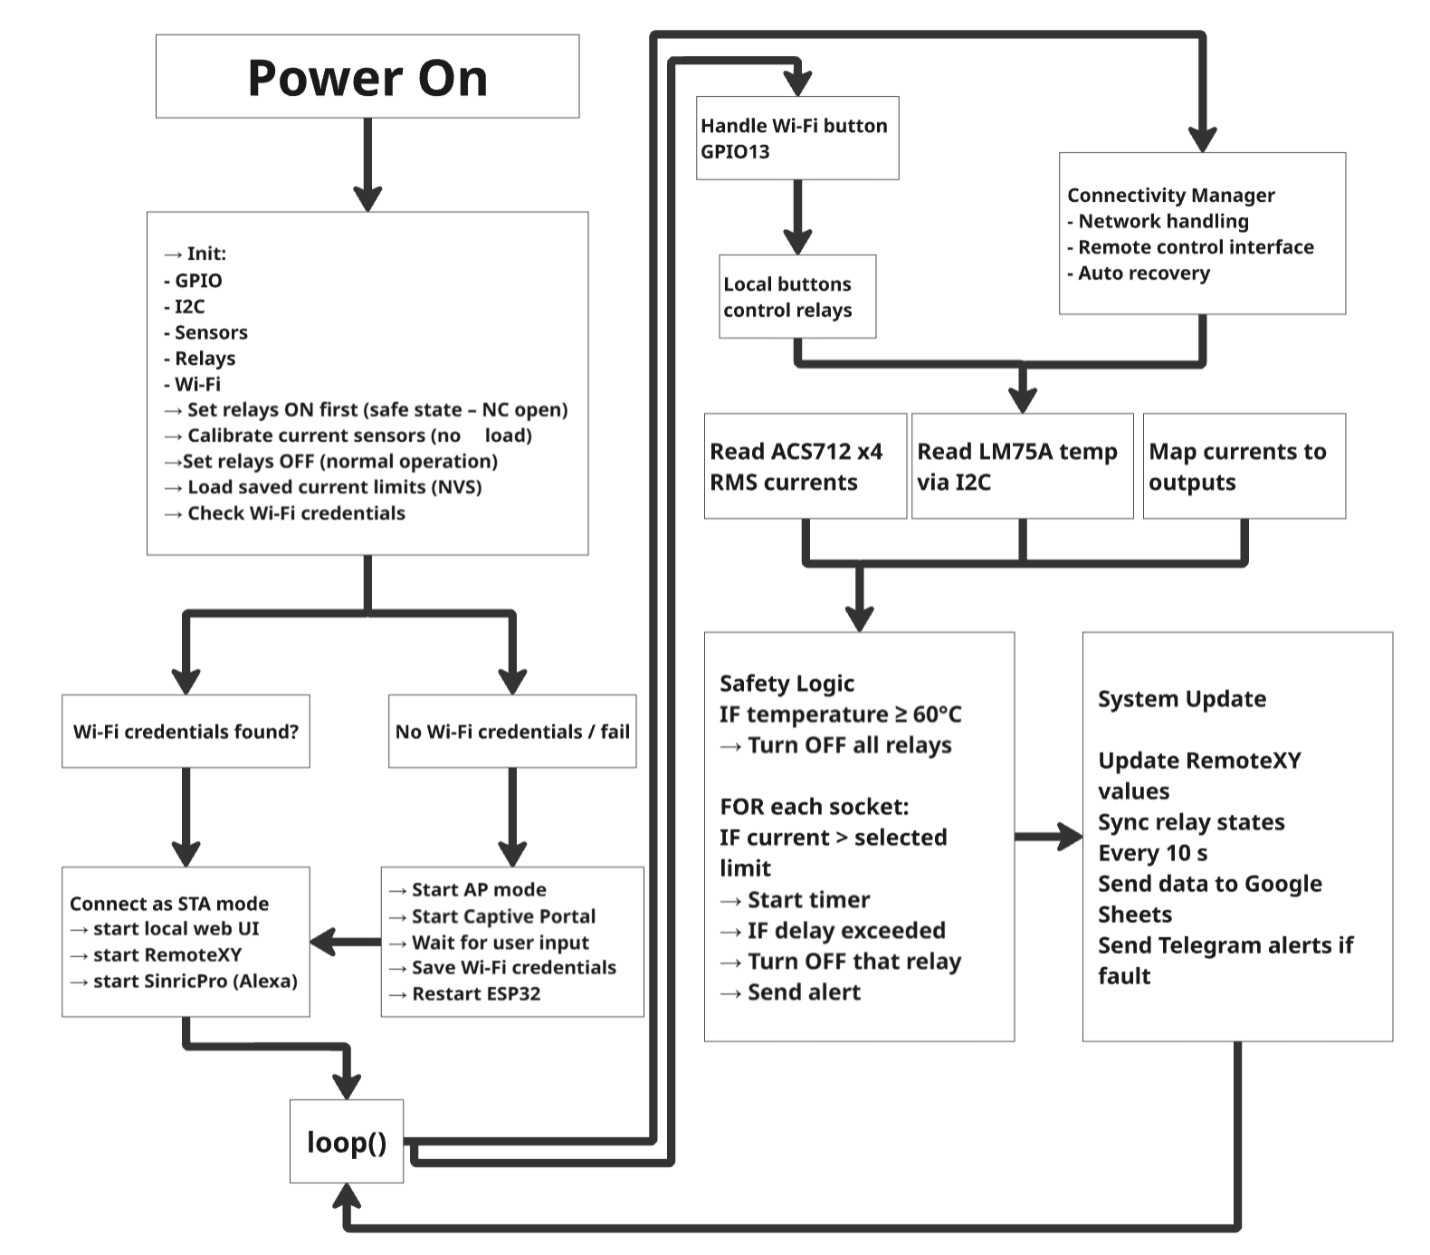
Software Block Diagram
Circuit Diagram

⚙️ System Operation
Using the RemoteXY app you can:
- Turn sockets ON/OFF
- Set current limits
- Monitor current and temperature
- Track energy usage
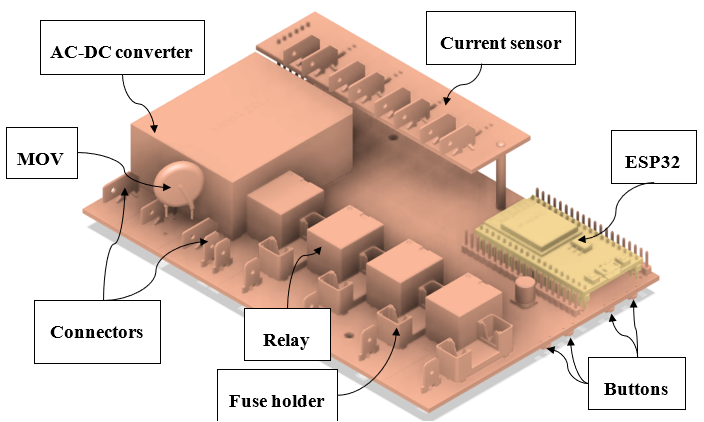
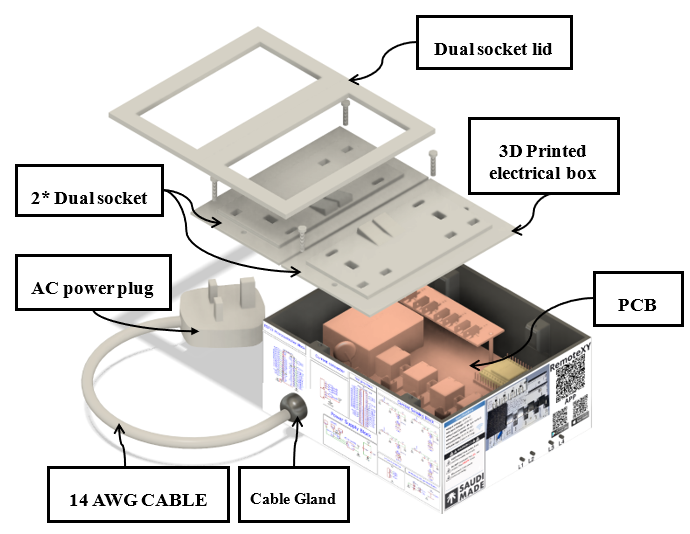
🧩 Hardware Implementation
Full PCB Assembly

Main PCB + Current Board
📦 Enclosure Design
🛡️ Safety Features
Over-Temperature Protection
Shuts down at 60°C
Over-Current Protection
Trips after 5 seconds overload
⚠️ Important Safety Warning
Before starting the setup process:
- Do NOT connect the extension board to mains electricity (220V).
- Perform all configuration and programming while the ESP32 is powered only through USB.
- If possible, remove the ESP32 module from the extension board during programming.
- The extension should only be connected to electricity after firmware upload and configuration are completed.
This prevents electric shock, hardware damage, and unsafe operation.
Setup Guide
Contents
- Install Arduino IDE and ESP32 Support
- Install Required Libraries
- Create RemoteXY Cloud Token
- Setup Telegram Alerts
- Setup Alexa Control SinricPro
- Upload Firmware to ESP32
- Remote Interface
- Connect the Device to WiFi
- Connect Using RemoteXY Mobile App
- Final Step
- License
Install Arduino IDE and ESP32 Support
Download Arduino IDE:
https://www.arduino.cc/en/software
Open Arduino IDE and go to:
File → Preferences
Add this to Additional Boards Manager URLs:
https://espressif.github.io/arduino-esp32/package_esp32_index.json
Press OK.
Open Boards Manager:
Tools → Board → Boards Manager
Search and install:
ESP32 by Espressif Systems
Select the board:
Tools → Board → ESP32 Arduino → ESP32 Dev Module
Install Required Libraries
Open Library Manager:
Sketch → Include Library → Manage Libraries
Install:
RemoteXY
SinricPro
Create RemoteXY Cloud Token
Go to:
Create a token and replace it in the code:
#define REMOTEXY_CLOUD_TOKEN "YOUR_TOKEN_HERE"
Setup Telegram Alerts
Create a bot using:
@BotFather
Then get your Chat ID:
https://api.telegram.org/botBOT_TOKEN/getUpdates
Insert your credentials into the firmware:
const char* TG_BOT_TOKEN = "YOUR_BOT_TOKEN";
const char* TG_CHAT_ID   = "YOUR_CHAT_ID";
Setup Alexa Control SinricPro
Go to:
Create four switch devices and insert the credentials:
#define SINRIC_APP_KEY    "YOUR_APP_KEY"
#define SINRIC_APP_SECRET "YOUR_APP_SECRET"
Upload Firmware to ESP32
Connect ESP32 via USB.
Select the port:
Tools → Port
Upload the code.
📱 Remote Interface
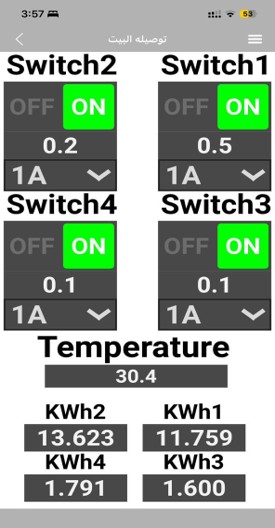
RemoteXY interface used to control sockets and monitor current, temperature, and energy.
Connect the Device to WiFi
Connect to the access point:
Smart IoT Electric ExtensionXXXX
Open:
http://setup.local
Configure WiFi.
Connect Using RemoteXY Mobile App
Use the Cloud Token to connect the device to the RemoteXY mobile application.
Final Step
- Disconnect USB.
- Reinstall the ESP32.
- Plug the extension into 220V.
The system is now operational.
License
Saad AL Mubaireek Custom Non-Commercial License v1.0
Copyright (c) 2026 Saad AL Mubaireek
Permission is granted to any person obtaining a copy of this project and associated files to use, study, modify, and build the project for personal, educational, and non-commercial purposes only.
You may:
- use the code
- study the code
- modify the code
- build your own personal version
You may NOT:
- sell this project
- sell modified versions of this project
- use this project for commercial purposes
- manufacture this project for sale
- rebrand and sell this project as your own product
Commercial rights are reserved exclusively by the original creator, Saad AL Mubaireek.
This project is provided “as is”, without warranty of any kind, express or implied, including but not limited to the warranties of merchantability, fitness for a particular purpose, and noninfringement. In no event shall the author be liable for any claim, damages, or other liability arising from, out of, or in connection with the project or the use of this project.